
Fly Molo here to take you along on a journey... come along!
I bought this great book many years ago:

 One gaming table in particular always had my eye though. It is this great snow board. Not some regular snow board that is just sand glued to piece of plywood and painted white. No, not one of those. This is a snow board with character. The snow covered maybe 75% of the ground, while the other 25% was a yellowish earth that was underneath the snow. It showed through in areas you would expect, like areas of higher traffic or areas where temperatures might be higher. But that's not all. It also featured pipes. Lots of pipes. Big pipes, running the length of the board, recessed into trenches in the earth. Near the center of the board, the pipes rose from the ground and entered some factory type building, where the exited out of the back of it and plunged back down into the earth, to continue on off of the board somewhere.
 What the hell were they refining there? Something important I presume. Were they mining something too? Why are we fighting here? Oh, it was just a perfect battle field.
And the terrain! Oh the terrain! Snowy tree clumps! Snowy hills! Stacks of unused pipes! PIPES! Big storage tanks! The terrain was just a perfect fit. Again, I always envied this board. I wanted it.
Well guess what. I am going to HAVE IT! MWHAHAHAHAHHAHAA!
This is going to be part one of my attempt to obtain this board. Or something like it.
So where to begin? Sadly, the book only showed this board as an example of what can be done using the techniques described in the book. On the bright side, I own the book. Since I won't be following a step by step tutorial on how to make this game board, I guess I better start with some plans.
Brainstorming:
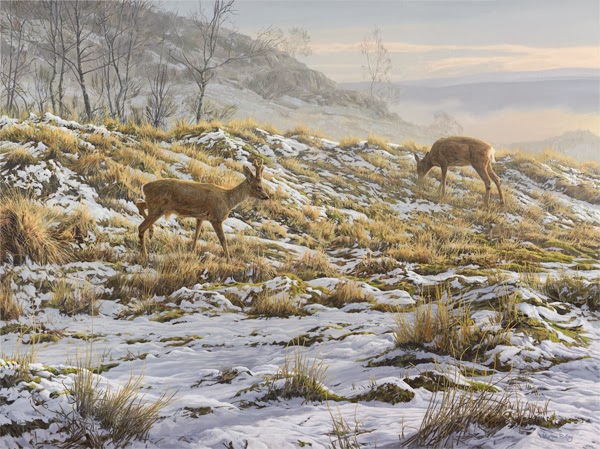 So lets think about what I liked: I like the snow, but not the "it's so damn snowy and cold here everything is just white, like, lets fight in Antartica" type of snow, more like "it is late winter and spring is around the corner" snow. I think the 75% to 50% snowy type is perfect. As far as earth color goes, I'm not too stuck on anything in particular. I don't think it should be lush green, probably some off yellow with mud showing through in other places.
  I liked the pipes. I really liked that. I think using some type of PVC piping would be appropriate, considering its cheap easy to work with. I also think I want a some bends and or elbows, to make it look dynamic. I need to be careful though, because it seems if some society was making big-ass pipes, they would probably take great care while planning to avoid elbows and bends. I need to be logical here people.
 I also liked the mix between industrial and nature. I'm going to have to play on that somehow.
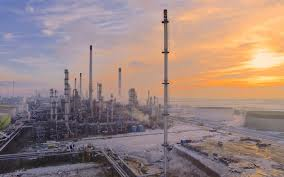
 Inspiration:Littered about this post are some pictures I'm going to draw on for inspiration. I find that if I get an idea for a certain paint scheme or terrain piece, if I just go to google images and type in the most generic description, I get all sorts of amazing results that I can draw upon for inspiration. These pictures all resulted from searches like "snow refinery" and "snow industrial" and "snow industrial pipes" and "thawing snow." It can put a picture to the words and ideas you might be having and could lead you into an entirely new exciting direction.
Some things I've taken from the inspiration pictures I've found:
1. Real life is EXTREMELY detailed. I can only hope to capture a fraction of the detail. I'll have to pick and choose what I want to be super detailed. If I want a refinery building, which I believe I will, I'll probably do most of it there.
2. Nature is beautiful. I should try to do the nature part of my terrain justice instead of making it an afterthought like I see on a lot of boards.
3. There are lots of lights in factories and around them,... maybe electrical could be added? LEDs are cheap and abundant now. Plus, on a board, a battery pack and wires can be hidden very easily.
4. Those places look cold.
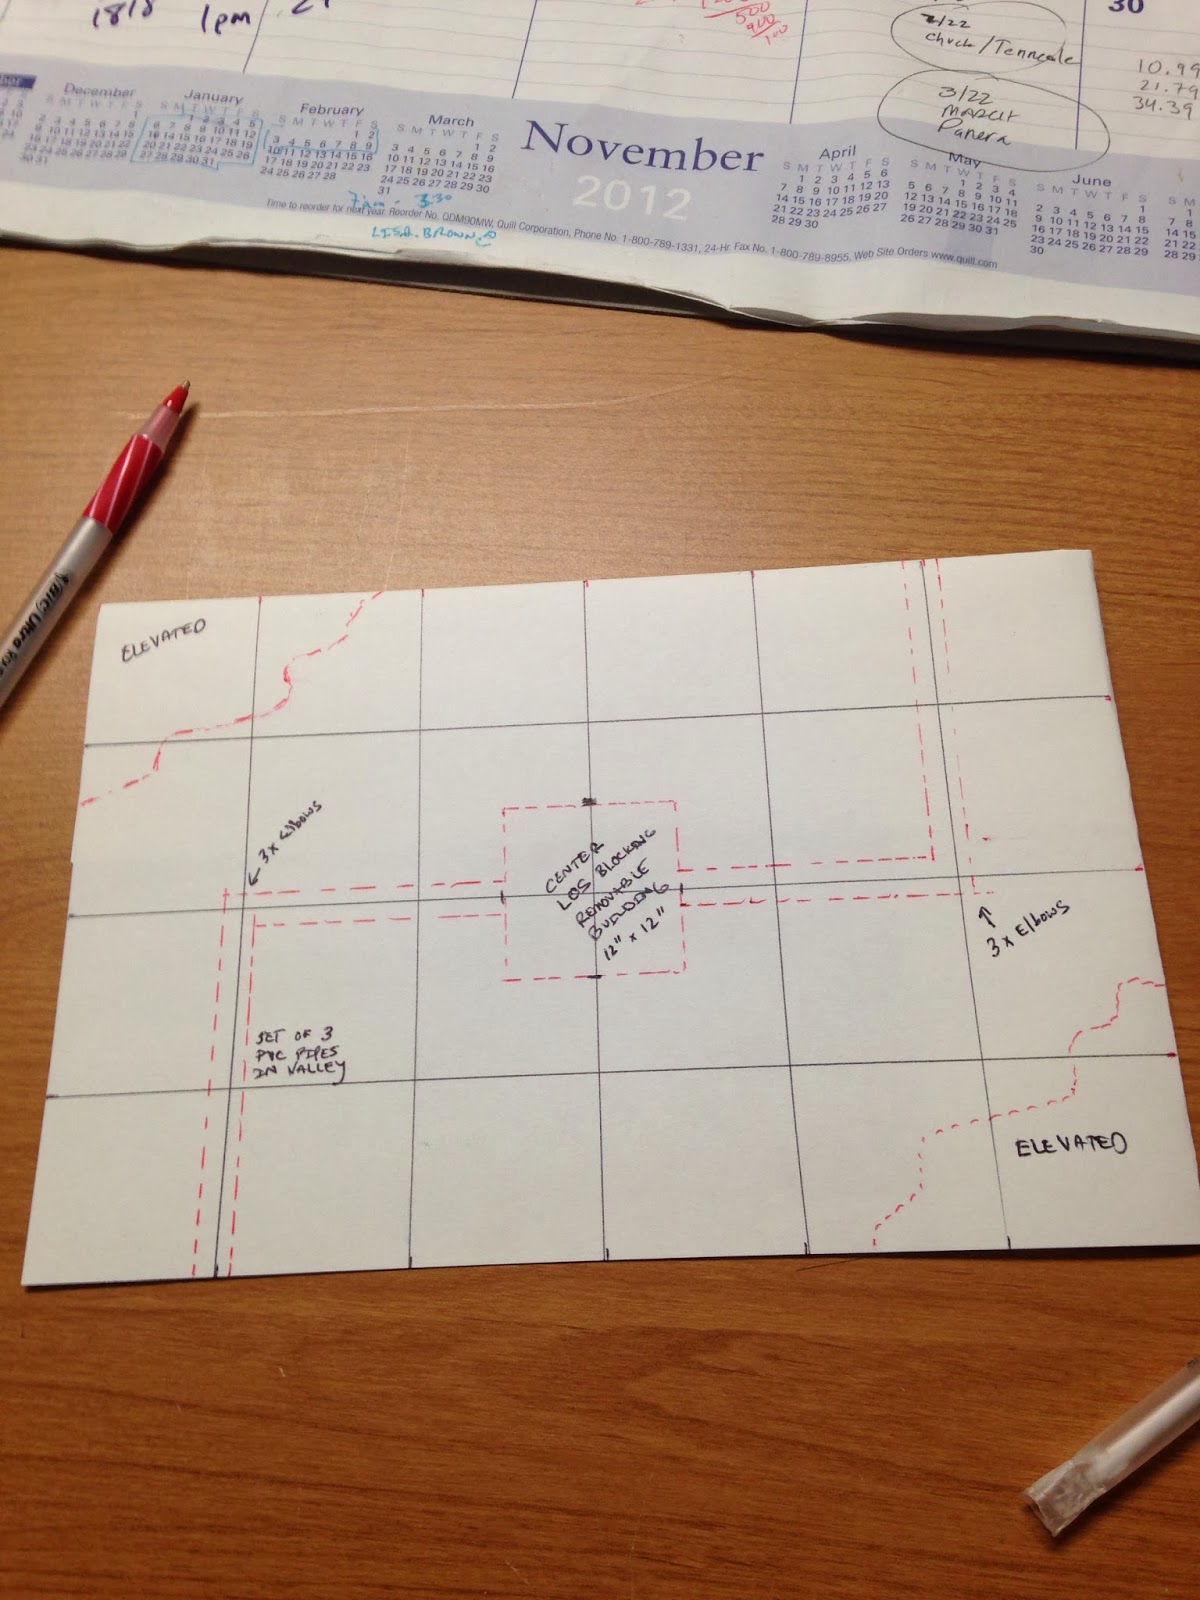
Sketches: Here are some sketches with notes written on them. I will use these as a guide for what I will be doing as I go.
As my photo progression of sketches show, I started with a scale version of paper. This is critical. Using a simple unfolded piece of notebook paper is less labor intensive but will get you disproportionate sizes. We don't want that. The easiest way to get a to scale 4' by 6' board onto paper is to convert inches to feet in a 1:1 ratio. That would be a smallish piece of paper at 4" by 6" but it would be correct. I wanted the paper a little bigger, so I went with 6" by 9", a 1:1.5 ratio. If I mark off every 1.5 inches, I'll have 1 foot by 1 foot squares drawn on the paper.

Now, with 1sqft squares on the paper, I can start to measure out where I want everything.
I'm a stickler for fairness, especially on a board in which I will have some built in terrain. If it can't move, it needs to be fair, meaning I need to have roughly the same stuff across length wise, width wise and diagonally. A lot of my plans will take this concept into consideration.

First, I want a center piece of terrain. A big center piece. The factory. The place where whatever we're refining is refined. I want it to be imposing. Dominant. Huge. 1' by 1' should be sufficient. And if I'm smart about this, I can make it so it will work on the board without being stationary. I can put it on a piece of chipboard and move it anywhere along the pipe path.

The pipe path would be next. This was the big thing that was in the "How to Make Wargames Terrain" that got me to wanting to make this board in the first place. Making sure to keep the across/length/width/diagonal concept, I place it in this zig-zag pattern. I don't need to worry too much on the effect of the game though because they will be recessed into the board, making the tops of the pipe roughly the same height as the surface of the "earth." I'll also need to understand where my pipes will bend and I'll need elbows.

Next, I'll roughly sketch out where I want my second level hills. The opposite corners from the pipes seem very appropriate and would please my discerning eyes. I'll have 2" by 4" left over of 1"thick pink foam polystyrene, perfect for making these corner pieces and having a bunch left over for movable hills and such.

I'll end part 1 here with a couple more inspiration pictures. I couldn't wait to get this project done, so I've actually got a great start already. I can't wait to get part 2 onto the site. Stay tuned.

Good luck there man. I almost went mad trying to make my modular city fight terrain. Almost o_O
ReplyDeleteYou might take a look at hirst art pipe molds.. Good luck because I want to try the same thing but to lazy to execute it
ReplyDeleteNice - looking forward to seeing this come together!
ReplyDelete