
Old School here with a quick, easy and effective tutorial for improving your Necron Warriors. For a long time, many Necrons (and non-Necron) players have complained about the green, plastic rods used for Gauss weapons. I particularly don't like them, but at the same time, I wouldn't pay extra money to replace them, so instead, I used what was on hand ...

First you want to take a sharp hobby knife and cut out each rod. This is easier than it looks since each rod is held in individually with small pieces of plastic.

When you have taken one out it should look like this.Now trim off the extra mold lines and flash. Leave the little nipple at the end of the rod. Also, preserve as much of the fatter end of the rod as possible to avoid large gaps once the weapon is fully constructed.
Here is a sharp diagram bowwowed straight from Lucky No.5 over at Eye of Error from the post I linked above that better illustrates where to cut:

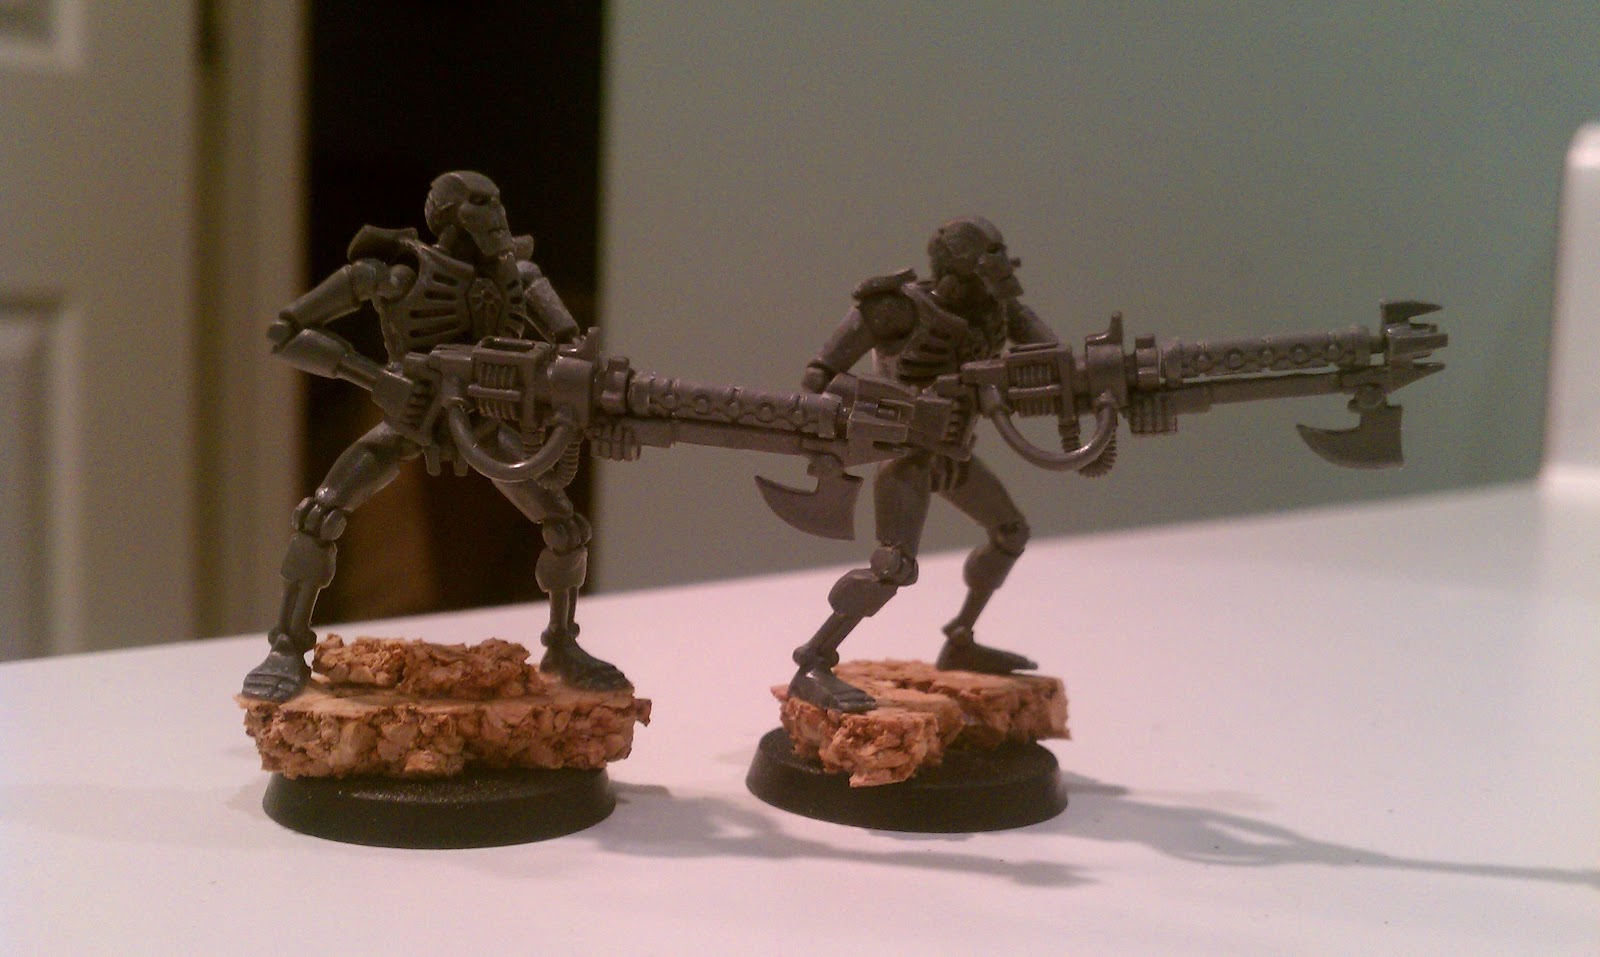
Now let's take a look at the Warrior's Gauss weapon:

Build yourself a Warrior Gauss weapon completely as shown in the photo above. Once that is built and the glue is set, run a bead of glue along the rail where the rod will go and also in the little hole where the nipple will go. Then (ensuring that our cool necron symbols are facing out from the sides of the weapon) set the rod down and give it that last adjustment before the glue sets up.

Thanks again to Lucky No.5 for clearing the way with this idea and for the borrowed diagram. If you haven't checked out his blog before, make sure you stop by Eye of Error, you will not be dissapointed.
Comments and feedback are always welcome. As I continue to build the army, I will seek out simple, effective and sometimes cheap ways to make the most of your bits and your Necrons.
Nice conversion, although I am one of those rare people who actually like the green rods! I even converted my Imotekh and Overlords to have green rods on them lol
ReplyDeleteI just bought blue rods!
DeleteOR
ReplyDelete(1) Paint the rods the same as the rest of the rifle. Then paint on the rings and lines needed to look like every other Gauss weapon.
(2) Take one of those Gauss tubes, make a mold, and green stuff the tubes.
I'm lazy so will probably just paint them. I'll already have the colours for the Immortals.
Thorson, I totally agree about painting the rods. I almost did it just because it can be done and has been done well. In fact I pointed that out at the end of the article.
DeleteI am simply presenting a great alternative from the blogosphere that some folks may have missed the first time around.
Hey OST, thanks for the shoutouts in this article :)
ReplyDeletethis dude predicted the future
ReplyDelete